In order to create a Facebook Page for your Real Estate business, you need to create first a regular “personal” facebook profile.
1. Log in to your personal Facebook account.
Since one-sixth of the human race is an active monthly user of Facebook, we’ll assume you have a personal account. (If not, you can create one quickly on the homepage.)
2. Go to “Create a Page.”
After you’ve logged in, go to the scroll-down menu located at the top-right corner of your profile and select “Create a Page.” That will take you to the page below:
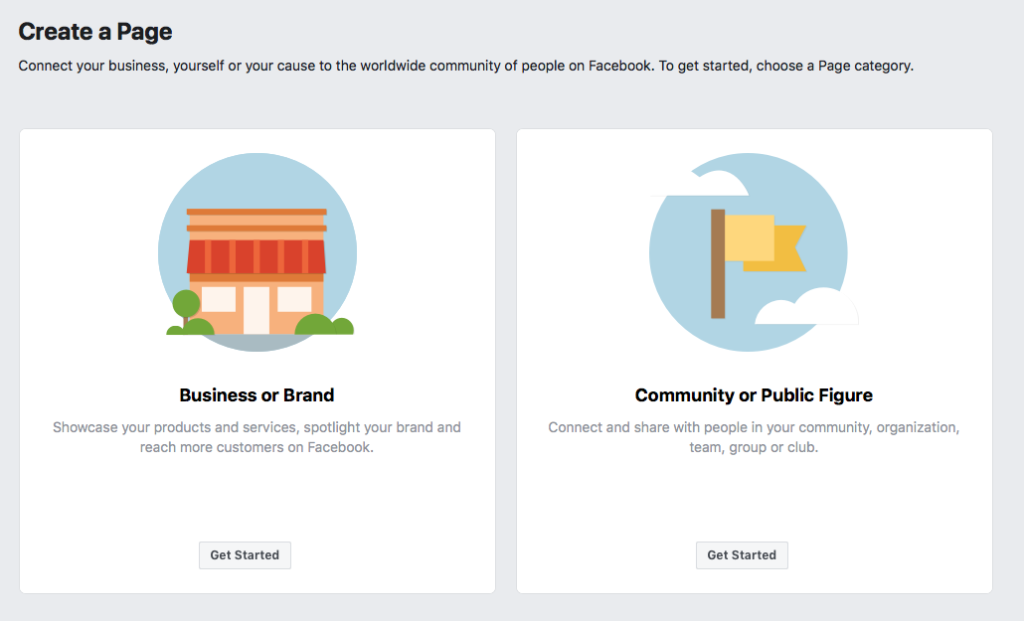
If you have a physical office that gets lots of walk-in traffic, you can choose “Local Business or Place,” but for the vast majority of agents, selecting “Company, Organization, or Institution” is the way to go.
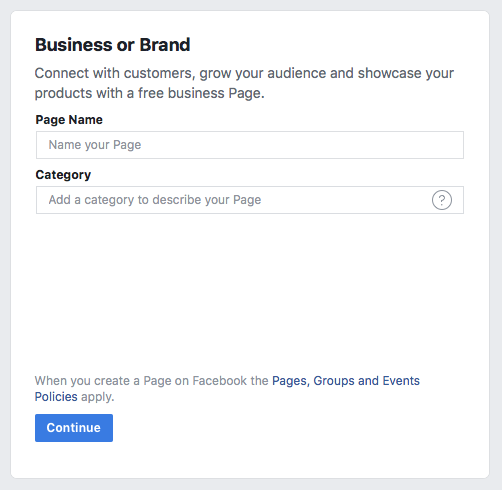
3. Choose your page name. we recommend to follow your company guidelines and use your name, be creative and let clients know how to find you. We recommend something like: Your Name, realtor, Houses by Your Name, Selling Miami with Your Name
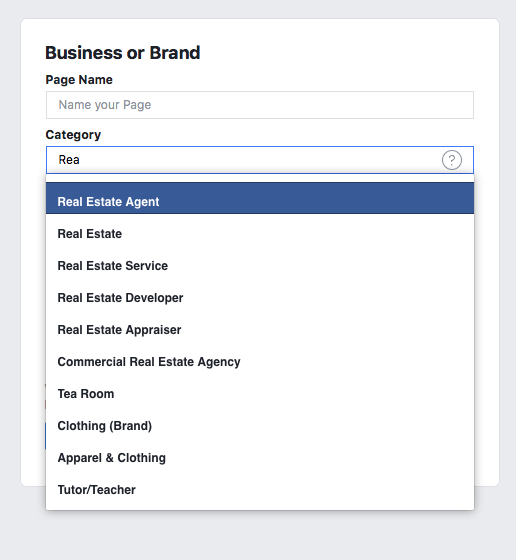
4. Select your business category.
From the categories listed choose “Real Estate Agent.”
5. Upload your profile picture.
Upload a professional-looking headshot of yourself to use as your profile photo. If you want to take it to the next level, you could even use a logo, but if you want followers and page visitors to trust your brand, it’s best to use your headshot in this space.
6. Fill in your company information.
Click “Update Info” and add in all of your pertinent business details. After that, fill in the remaining information about yourself and your company in the “About” page. Facebook users want to know they can trust the content you will be posting. If they don’t know anything about your real estate business, including where you’re located, your credentials, and other business info, chances are they won’t want to visit your page regularly.
7. Add in a cover photo.
Keep in mind most companies offer solutions for these areas, Like CENTURY 21 agents for example access the 21Online and under tools/media resources that get free covers for their social media profiles. Add in a header image that abides by the dimensions laid out by Facebook so it fits your profile perfectly. It’s a good idea to switch these out regularly, perhaps featuring your logo over photos of the listings you represent, including ones you’ve sold, or even your local area.
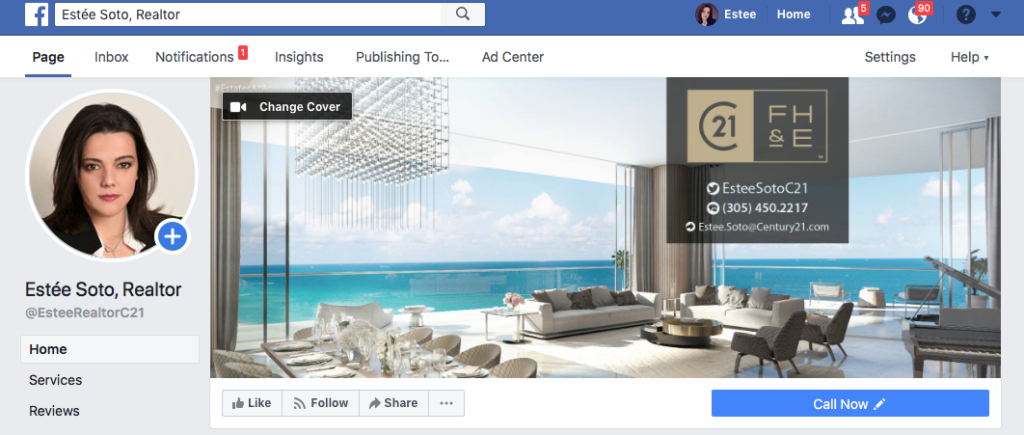
This can give page visitors — meaning prospective buyers — insight into your sales history and show you’re an active agent.
8. Start sharing updates!
Now you’re good to go. Start promoting your Facebook page on your real estate website (consider adding a follow button on your site to make it easy for visitors to find and follow you) and begin sharing updates with your audience — everything from new listings to blog posts to Instagram photos of interesting neighborhoods.
Here’s an example of one of Facebook updates from a realtor page:
Important: When you log into Facebook to post updates, be sure to check whether you are posting under your personal profile or your new business profile. You don’t want post selfies from your birthday barbecue to all of your prospective customers.
“Social media replaces nothing — but complements everything.” — NEAL SCHAFFER
9. Publish links to your blog posts and other content with appealing images.
This should be done on a daily basis, which requires you to keep up with your real estate blogging. When posting on Facebook, don’t just post links to your blog posts and insert the headline. Tease users by asking questions or offering interesting statements that will make them want to check out your content.
Share images and videos of your business, including listings. Be sure to tag customers in photos so they can share your post with others on their News Feeds, thus maximizing your Facebook profile’s exposure. And you can kill two birds with one stone — ever since Facebook bought Instagram, it’s become a cinch to post Instagram photos and videos to Faceboook.
10. “Boost” your posts to reach your targeted audience.
An interesting development in recent years on Facebook is the ability to now “boost” your posts. This allows brands to target who their audiences are and narrow down who can see the updates you publish.
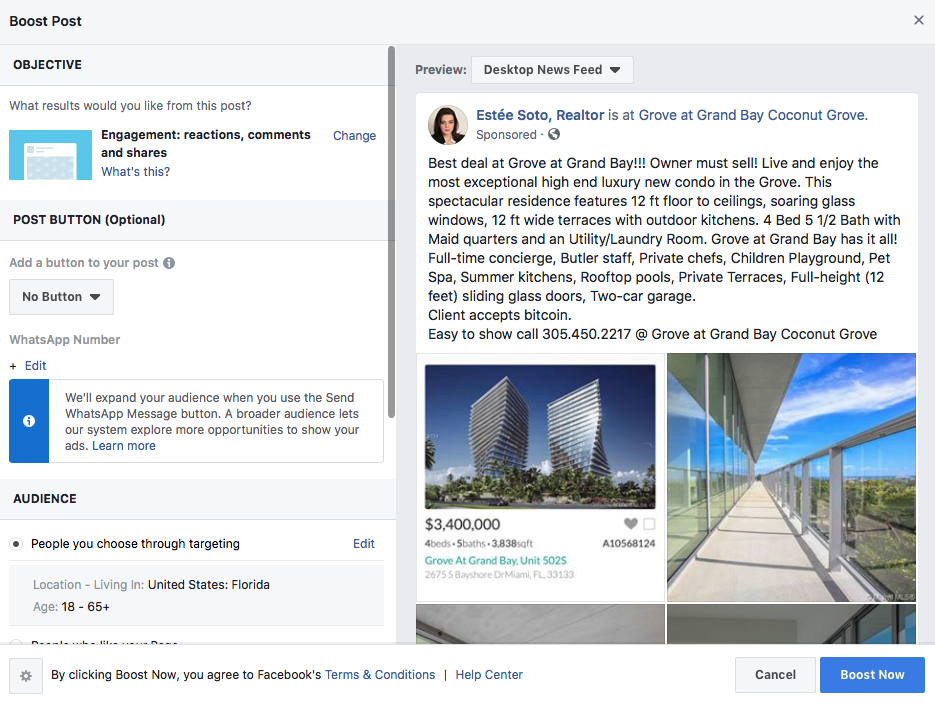
To learn more about Facebook Business tools and how to promote your post and your content, subscribe on the link below and get the latest tutorials on social media, we have great content for realtors.
(See link below)

